 Biostatistics | Center for Clinical and Translational Science
User Rights
Note: Access to each individual REDCap project is managed by the project team, not the REDCap administrator. To gain access to a project, please contact someone on your team with User Rights permissions. This may include the project creator or owner or a project manager.
Use the User Rights page to grant project access to any person with an active UIC REDCap account. Each user’s rights can be finely controlled at either the individual or the group level. For example, you might invite a user to:
- Manage project setup
- Create and edit forms and surveys
- Enter, view, or download data
- Add and remove other users
If you have User Rights permissions within a specific REDCap project, you will see a link to the User Rights panel in the left menu under Applications.
If you don’t see this link but think you should be able to manage user rights on a project, please contact the project’s creator or another team member who can grant you this permission. Do not contact the REDCap administrator.
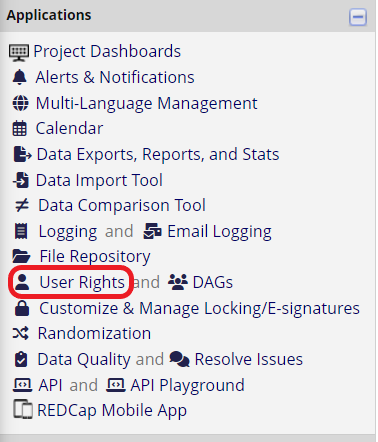
Figure 1: User Rights
To add an existing REDCap user to your project with custom rights, search for that user by name or REDCap username in the “Add new user” box. Click + Add with custom rights.
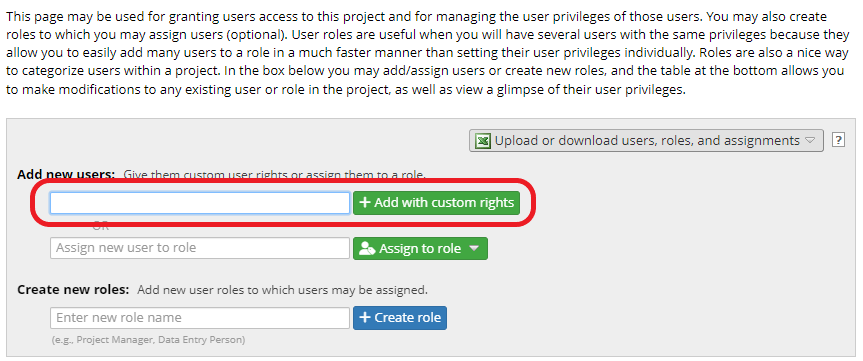
Figure 2: Add with Custom Rights
Tip: If the user you’re looking for doesn’t appear in the dropdown menu, check for the following potential issues:
- Make sure you’re searching by name or REDCap username. Don’t try to search by email address.
- The individual must have an active UIC REDCap account.
- To request a new account for someone, submit a request through the REDCap service request system. See the Request an Account page for more information.
- To reactivate an expired or suspended account you sponsor, visit the Sponsor Dashboard.
- To reactivate an expired or suspended account you don’t sponsor, submit a request through the REDCap service request system.
When you add a new user with custom rights, you will need to define what actions that user can perform. Carefully review each section of the popup window to ensure an appropriate level of access. Some user rights options are explained below.
Expiration Date: Set a time limit for the user’s access to this project.
Project Design and Setup: Check this box if the user should be allowed to add, edit, and delete instruments and project settings.
User Rights: Indicate whether this user should be able to grant and revoke project access for other users (Full Access), view other users’ access levels but not edit them (Read Only), or have no access to the user rights page.
Data Access Groups: Check this box to allow the user to create Data Access Groups and control which users belong to them.
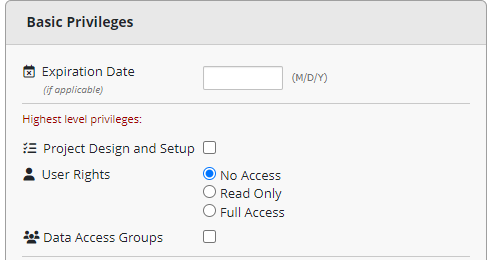
Figure 3: Basic Privileges
Use the checkboxes and multiple-choice fields to define user access to additional modules, including Alerts & Notifications, reports, the File Repository, and the REDCap Mobile App.
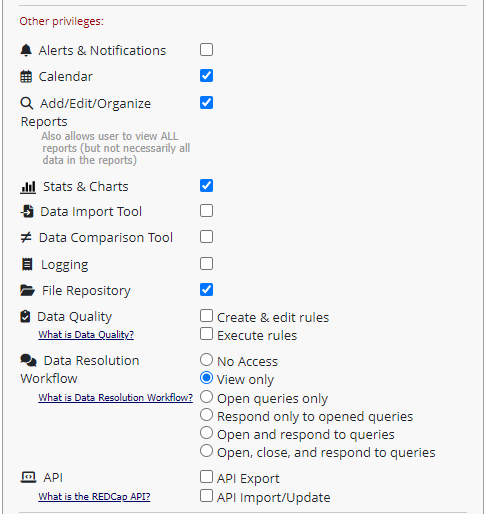
Figure 4: Basic Privileges
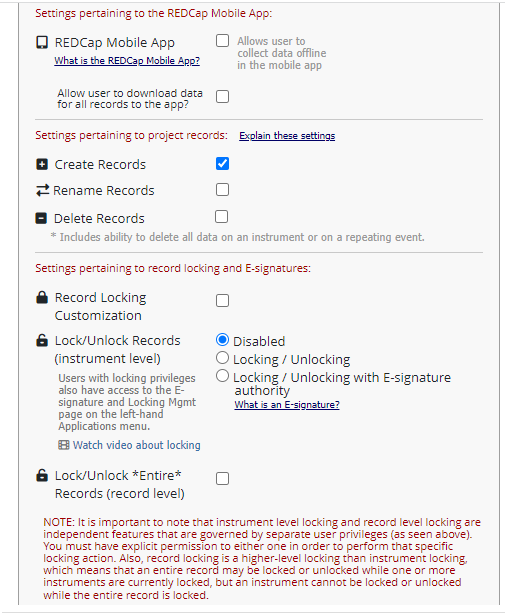
Figure 5: Basic Privileges
Define whether the user can view, edit, and export data associated with each project instrument. You can limit data exports to deidentified data, meaning designated identifier and open text fields will be excluded.
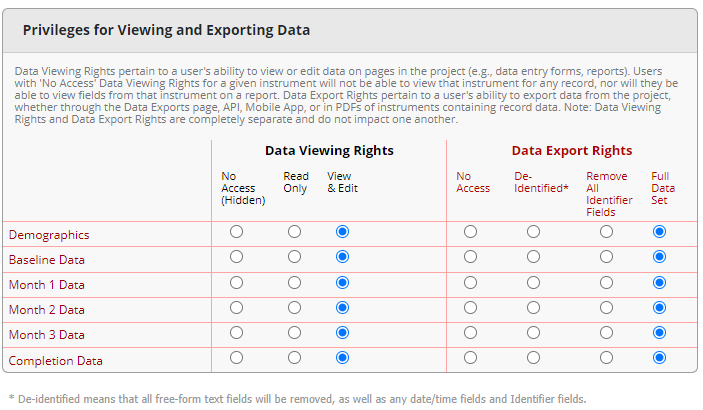
Figure 6: Viewing and Exporting Data
A named user role is a template of user rights that can be assigned to multiple individuals. For example, you might create a user role called “Project Administrator” for team members who will build and manage instruments. Another role called “Front-Line Staff” might have permission to enter data but not alter instruments or view reports.
To create a new user role, type the name in the “Enter new role name” box and click the blue + Create role button.
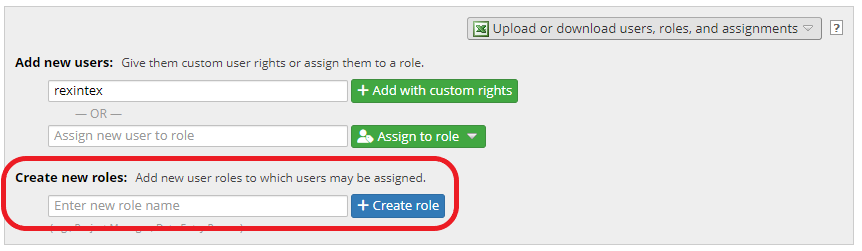
Figure 7: Create Role
Define what permissions should be available to individuals in this role, as described above.
After you have created one or more named roles, assign users using the “Assign new user to role” box.
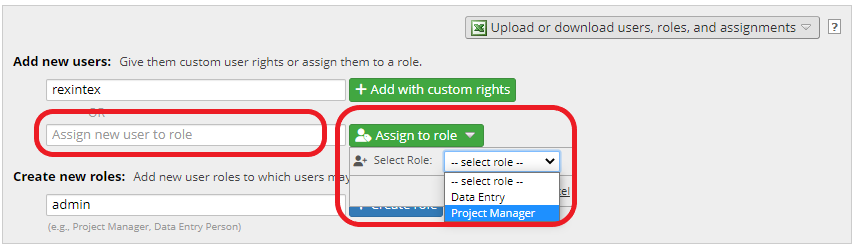
Figure 8: Assign to Role
To change a user’s custom user rights, click on the user’s name and click Edit user privileges or Assign to role.
To remove a user from an assigned role, or to change the assigned role, click the user’s name and click Re-assign to role or Remove from role.
To modify the permissions associated with a named role, click the role name.