 Biostatistics | Center for Clinical and Translational Science
Survey Styling
REDCap offers several ways to customize the layout and styling of your surveys. Use these tools to improve respondents’ experience taking your surveys and to match the design of your other project documents.
The Online Designer provides an interface called the Rich Text Editor that allows you to customize the styling of descriptive text and field labels.
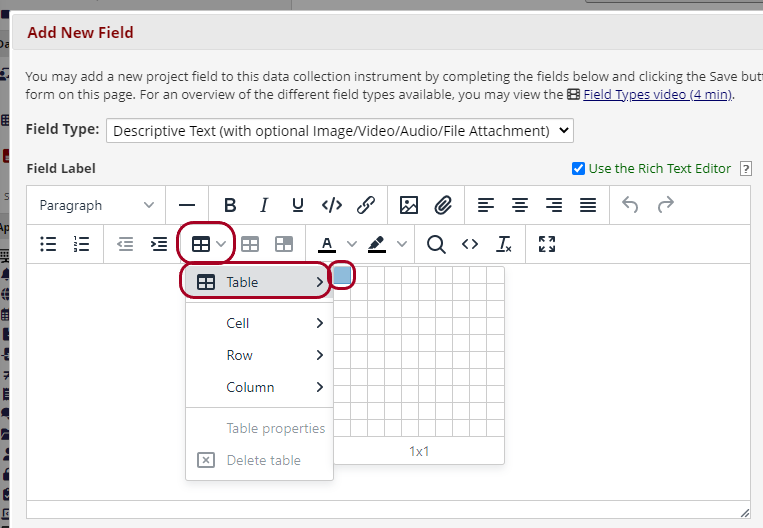
To enable it, add a new field to one of your instruments or open an existing field for editing. Check the Use the Rich Text Editor box.

A panel of text-styling tools will appear at the top of the Field Label box.
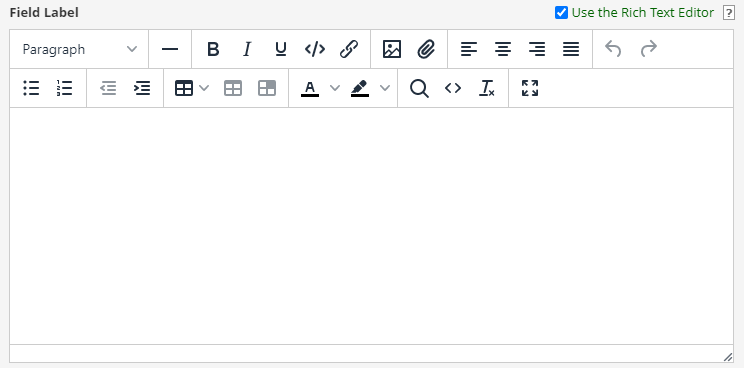
You can use these tools to:
- Modify font color and style (e.g., bold, italic, underlined, or highlighted)
- Change text alignment and indentation
- Insert numbered or bulleted lists
- Insert hyperlinks
- Insert images or attachments
- Insert and style tables
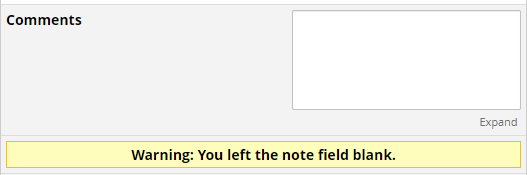
Tables in descriptive text fields can be especially useful for controlling the placement, alignment, and shading of text. For example, you may want to display an alert on your survey if a previous comment field is skipped. To do this, add a descriptive text field where the alert should display. Enable the rich text editor and insert a one-cell table.
Type the alert message inside the cell you just created.

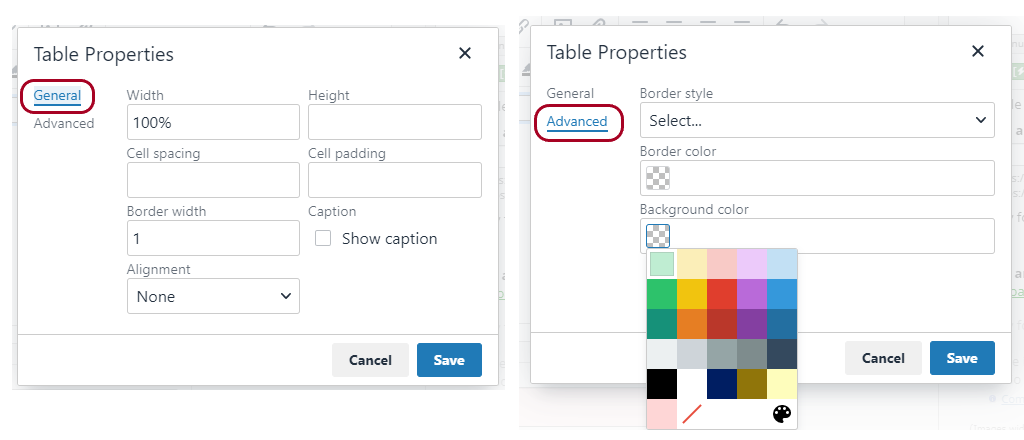
Edit the table’s appearance to match the style you want. To change the background or border color, select the table and then open the Table properties panel.

Edit settings on the General and Advanced tabs and then click Save.
 Edit text color and alignment using the rich text editor tools.

When you have finished editing the alert field, save it. Then define branching logic so that the alert displays when the comment field is empty.
Open your survey to preview the results.
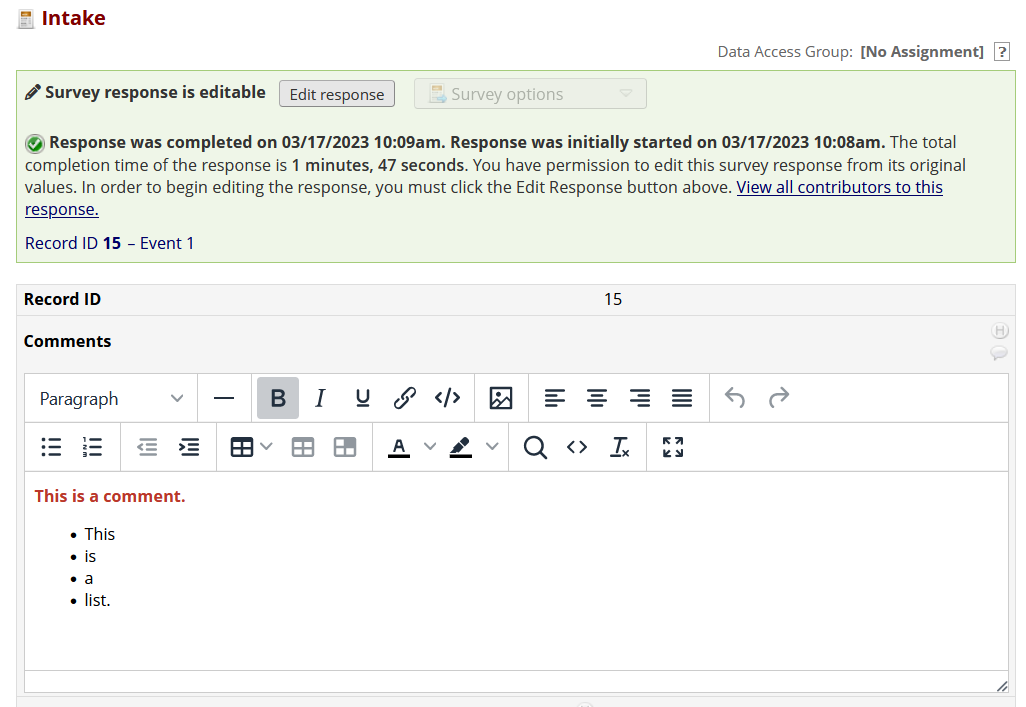
You can give your respondents access to the rich text editor in notes fields on surveys. This might be helpful if, for example, participants need to insert hyperlinks into their survey responses. The REDCap explanation of the @RICHTEXT action tag states:
Adds the rich text editor toolbar to a Notes field to allow users/participants to control the appearance (via styling and formatting) of the text they are entering into the field. To ensure all rich text controls are displayed, set Custom Alignment to one of the Left options.
To give respondents access to the rich text editor, include the @RICHTEXT action tag as part of a notes box field.

Users will then see the rich text options on the survey.

The formatted text will be displayed as submitted when you view the survey response within REDCap.
When data are exported, any rich-text formatting will be conveyed through HTML tags.

In some cases, you may want to customize your field labels beyond what’s available in the rich text editor. You have the option to insert raw HTML and inline CSS to accomplish this.
To add raw HTML to a field label, uncheck the Use the Rich Text Editor box.
Then type your HTML into the field label box. For example, to add a superscript footnote, you can use the <sup> element tag.
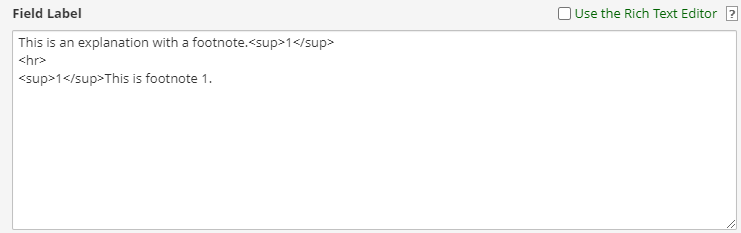
REDCap will render the HTML when it displays the field on your form or data collection instrument.

When a data collection instrument is enabled as a survey, you can control the fonts, headers, and colors on the Survey Settings page. Access this page for each survey from the Online Designer.

In the Survey Design Options section, you can add an optional header logo, choose a color scheme, and set font colors and sizes.

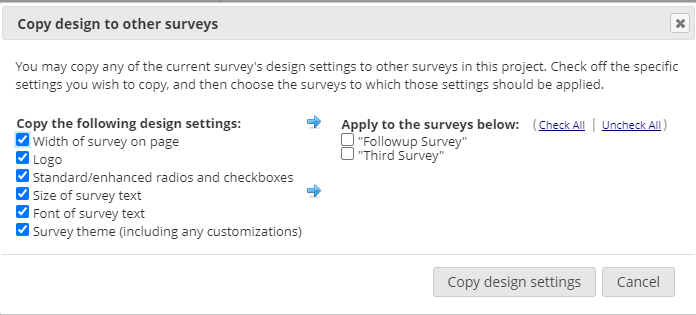
To keep styling consistent across all surveys in a project, you can choose to copy the design from one survey to another. To do this, click Copy design to other surveys.

You can then choose which elements to copy to which surveys in your project.
Field embedding is a tool within REDCap that allows you to insert fields into other fields to precisely control where they appear on a page. Field embedding is often used in conjunction with tables to make fields appear side-by-side. For example, you may have a survey that collects each respondent’s full name, nickname, and email address. Usually, these fields will appear vertically.
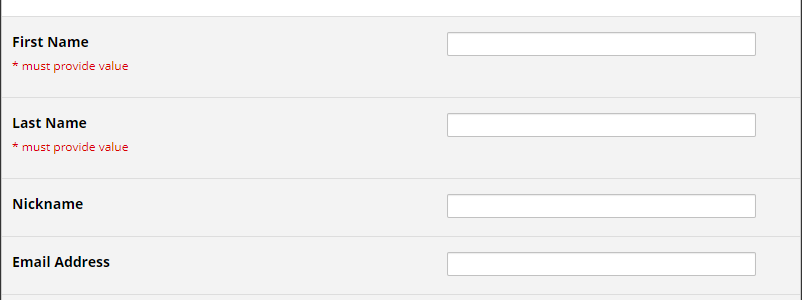
If you want the fields to appear horizontally on one line, you can use field embedding.
First, create a descriptive text field on the same page of the survey where the fields appear. Enable the rich text editor and insert a table. In this case, to put four fields on the same line, create a table with four columns (one for each field) and two rows (one for labels and one for fields).

Add custom text to the first row. Note that only this text will display; the field labels defined as part of each field will be hidden from respondents. In the second row, include each variable name, wrapped in curly braces, where you want it to appear. Use the rich text tools to format the table, labels, and fields.

The data collection instrument will alert you about fields that are embedded elsewhere or that contain embedded fields.

Fields on your survey will now appear in their embedded location.

For more examples and details of field embedding, see the REDCap documentation.
Shazam is an external module that allows even more fine-grained control of field layouts and styling. It requires some knowledge of HTML and CSS. Its capabilities are similar to field embedding, but it allows more complex and dynamic layouts. For example, rows and columns of tables can be conditionally hidden or shown based on fields’ branching logic.
From the Shazam module documentation:
This module allows you to create custom instrument layouts, similar to custom input matrixes. You can arrange dropdown, radio, input, and other fields into a custom html element and insert that into your instrument.
[…]
It also supports the ability to hide and show some of your custom elements based on other branched REDCap elements. This means you could make a complex table and be able to hide/show rows of that table based on another REDCap field - similar to how one can do branching on rows in an input matrix.
See the module documentation for more information. To enable Shazam on your project, please contact the REDCap administrator.